Built-In Storage Bench
When we bought our house I knew exactly what I wanted to do in my dining room. First off, it is tiny. There isn’t a ton of room for a table and chairs as my dining room is technically a small corner in my VERY small kitchen. But, we are a family who loves to eat. Who doesn’t? But seriously, our kitchen is the heart of the home and we wanted somewhere where we can gather and eat our meals comfortably. I look back to when we lived in a 200 square foot travel trailer while exploring the US and I am grateful for all of the things I learned when living in a small space. You have to find creative ways to organize, store things, and still function properly. When I saw the dining room I was working with I knew that I would need to roll up my sleeves and put my thinking cap on. That is when I came up with the idea for a built-in bench… with storage!
You guys, this thing is awesome. Not only can it seat 5 people at a time, but it stores all of my large kitchen items. I have my canner, air fryer, canned goods, empty egg cartons, all the things. I am so thankful that I have it because it keeps all those extra items that I don’t have space for out of the eye, so things feel comfortable even in my little kitchen. It feels organized and clutter-free. I am all about having furniture work in more ways than one. That is what this bench gives me. You’ve heard the backstory, now onto the project!
Tools needed
Kreg jig
chop saw
Brad nailer (I used 18 guage)
2 1/2” pocket hole screws
2 1/4” wood screws
drill
heavy duty staple gun
staples
paint roller
paintbrush
hinges
Materials/Supplies Needed
2x4’s
1/4” MDF
1/2” plywood
caulking
primer
paint
foam (I used 3”)
batting
fabric
Step 1: Layout your 2x4s and determine the length that you want your bench. I wanted to use the bench for seating on one side of my dining table, but I also wanted it to continue past that so I could utilize as much storage space as possible. Take your 2x4s to the chop saw and make your cuts. I also cut my pieces for the frame. I cut my inside framing boards at 14 1/2”. I wanted to bench to be 17 1/2” wide. That was a good measurement for me of how far away from my table it would be. After sitting on this bench for the past year I still think that this is a good measurement.
Step 2: I laid out the pieces on the floor and used 2 1/4” wood screws to screw the frame together. I put my 14 1/2” pieces on the inside of the two long pieces that formed the length of the bench. I put two screws into each section.
Step 3: Repeat steps 1 & 2 for the top frame of the bench. You will now have two identical ladder structures. Next, we will be creating the height of the frame. Everyone’s height will be different depending on the height of the foam. Keep in mind that a good height for a table bench is between 18” to 20”. I built my bench at 19” including the cushion. If I could do it again, I would build it at 20”. When you sit on the foam it shrinks lower because of your weight. Attach your base frame to the back wall with 2 1/4” wood screws. I also attached the front of the bench to my floor by angling screws into the floor.
Step 4: Cut 8 2x4s for your height/support pieces. I cut mine at 8 1/4”. My bench is 7’ long. If your bench is shorter than that I think you can get by with 6 support pieces. In my photos, you will see that I used 2x6s. That is because I had 2x6 scrap pieces in my shop and I was utilizing what I had. You can use 2x4s and they will still be solid supports. Use your Kreg jig to create pocket holes on both ends of your pieces.
Step 5: Cut out a rectangle from your 1/2” plywood to lay on top of your base frame. Screw it into the frame. Next screw your height framing pieces into your top framing section spaced apart equally. Make sure you have supports in all four corners of your bench. Then you can lay the top frame with height supports on top of the base frame and use your pocket hole screws to attach it to the base frame. I also created a center support beam to help hold weight in the middle of the bench.
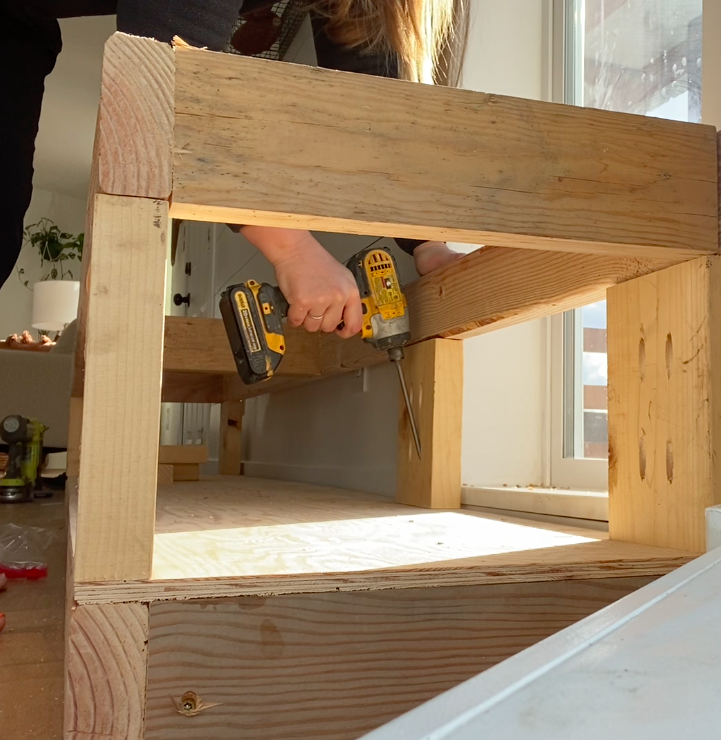
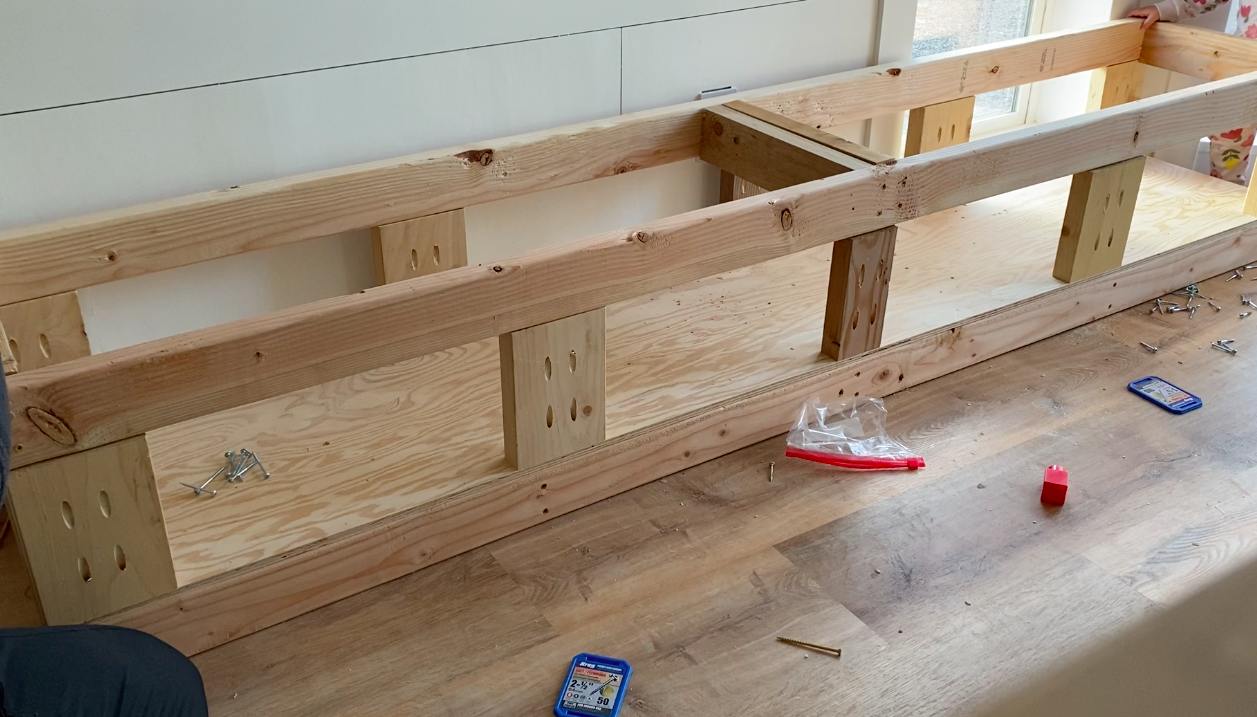
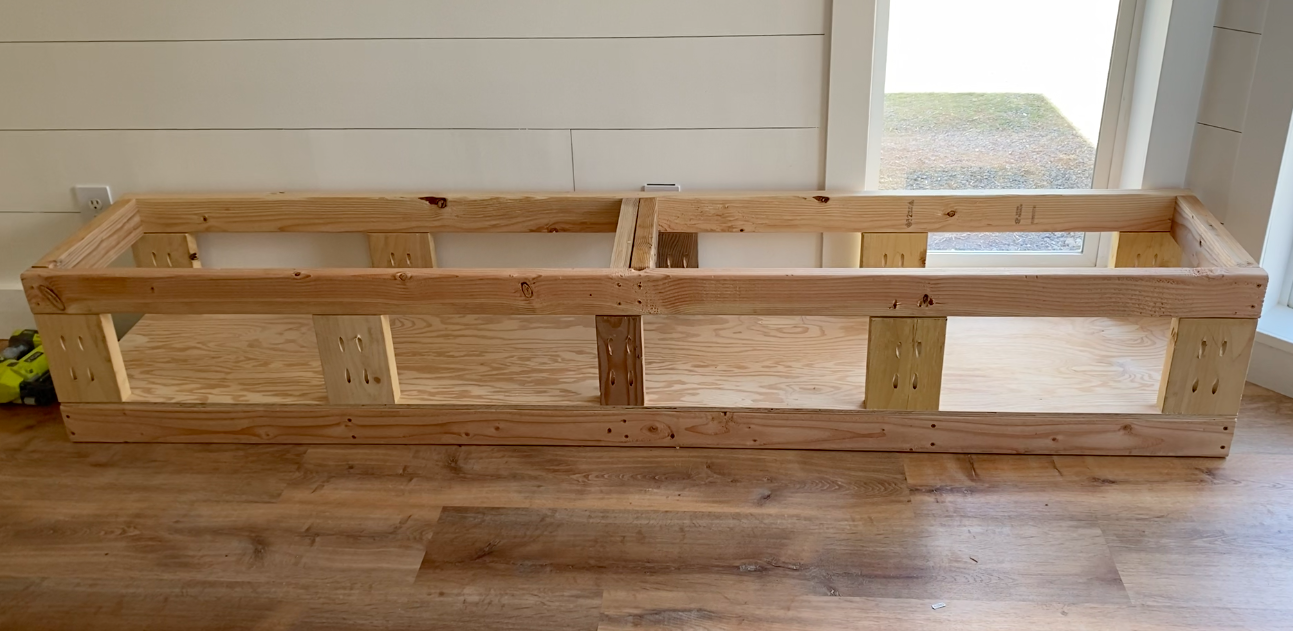
Step 6: Cut pieces out of your 1/4” MDF board to shell around your wood frame. Use a brad nailer to nail it into place. I used my jigsaw to cut a notch out of the bottom left corner to shape around my existing baseboard trim in the kitchen. Then use trim pieces to design how you want to and use your brad nailer to install.
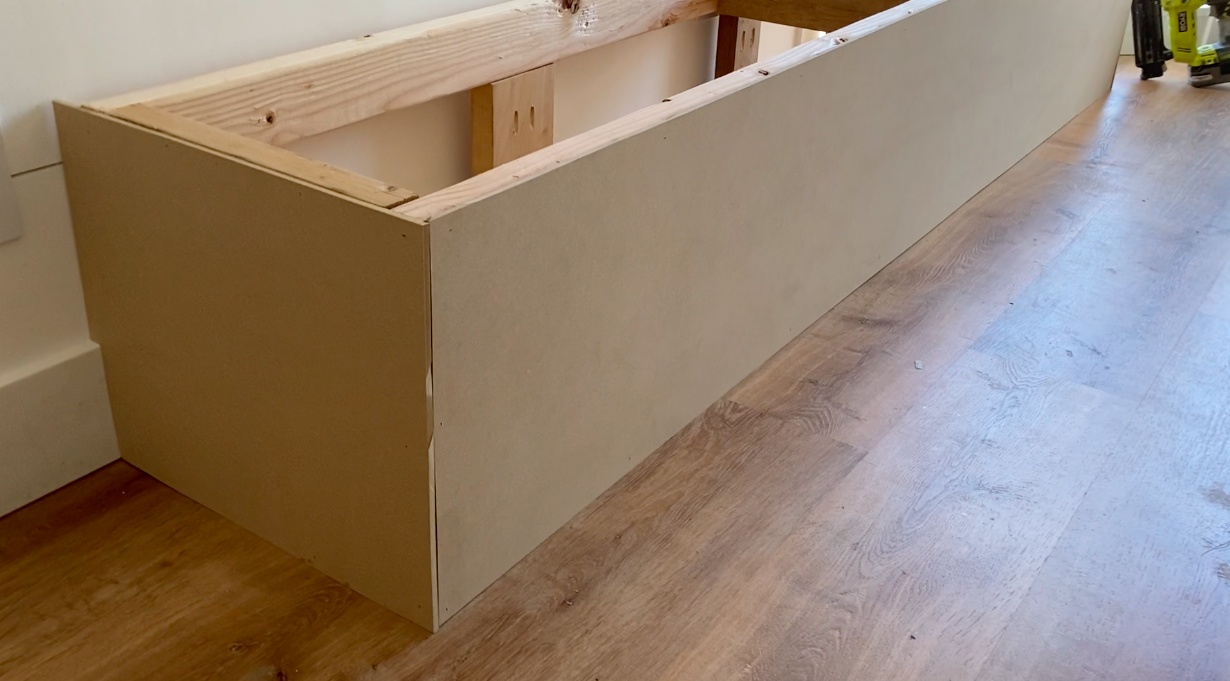
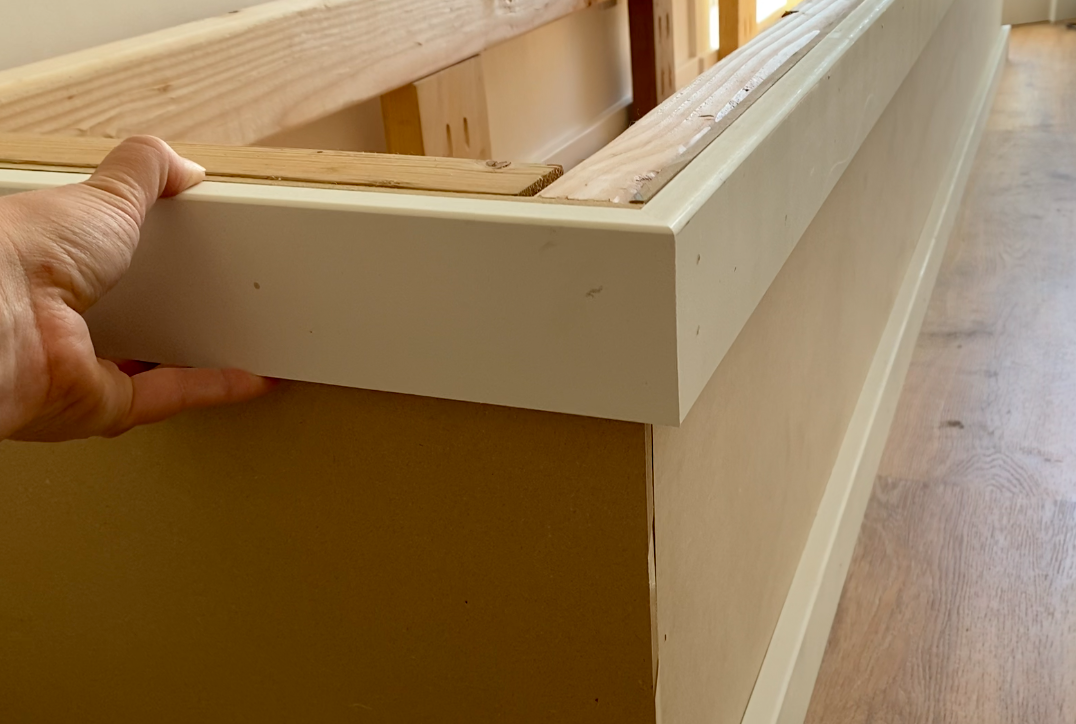
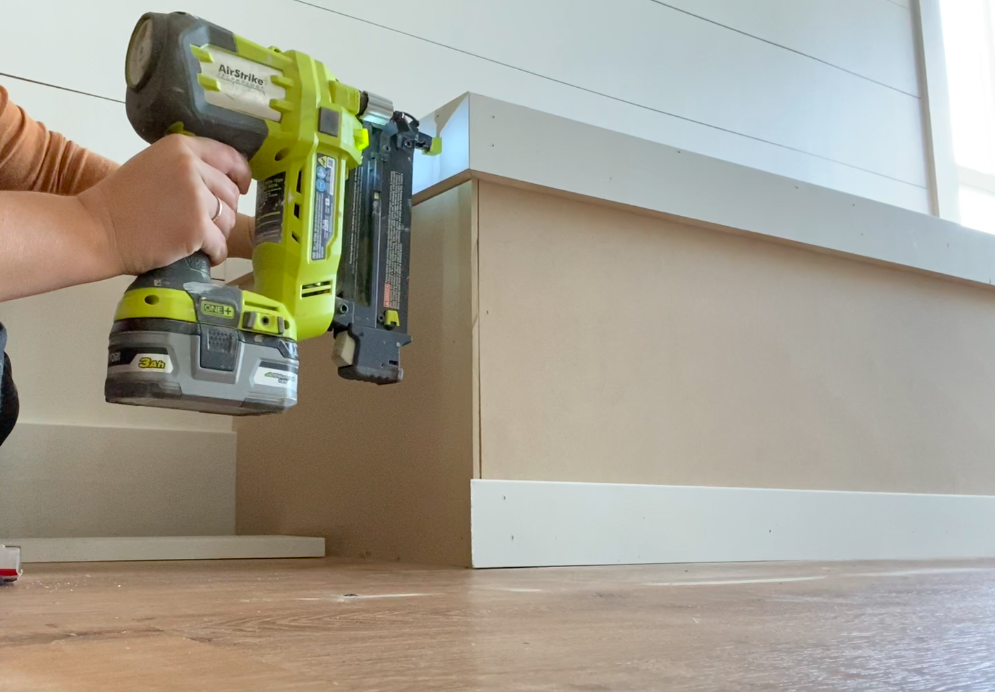
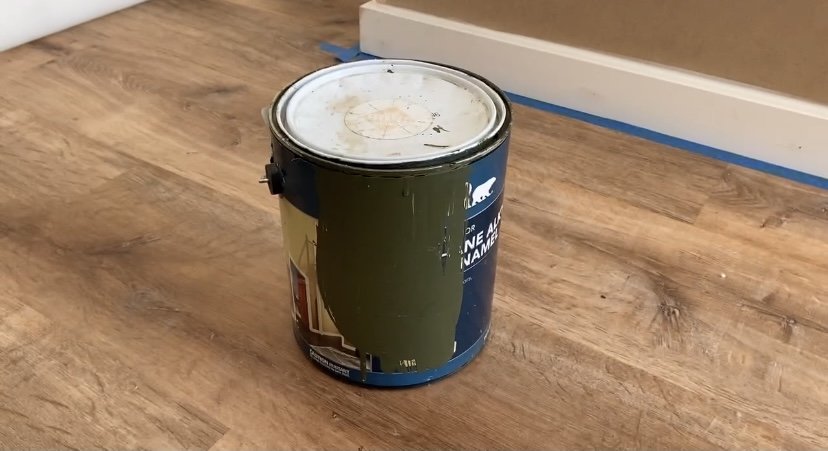
Step 7: Fill the nail holes and any seams with your favorite wood filler. Once it dries you can sand over the areas until smooth. Then you get to prime and paint your base! I taped off around the base so I didn’t get any paint on the floors. You can either use a primer/paint combo or prime first and then paint. I added a clear varnish to my paint to give a smoother finish and hopefully be more durable when I wipe down the bench in the future. I did a 1:4 ratio of Varathane to paint. I mixed them together in a container. Do NOT shake to mix together. Use a stir stick to combine. This takes a while but is worth it. If you shake the Varathane it will create bubbles that you do not want. Update: It has now been over a year and I definitely think this step helped a ton. I would do the same thing in the future.


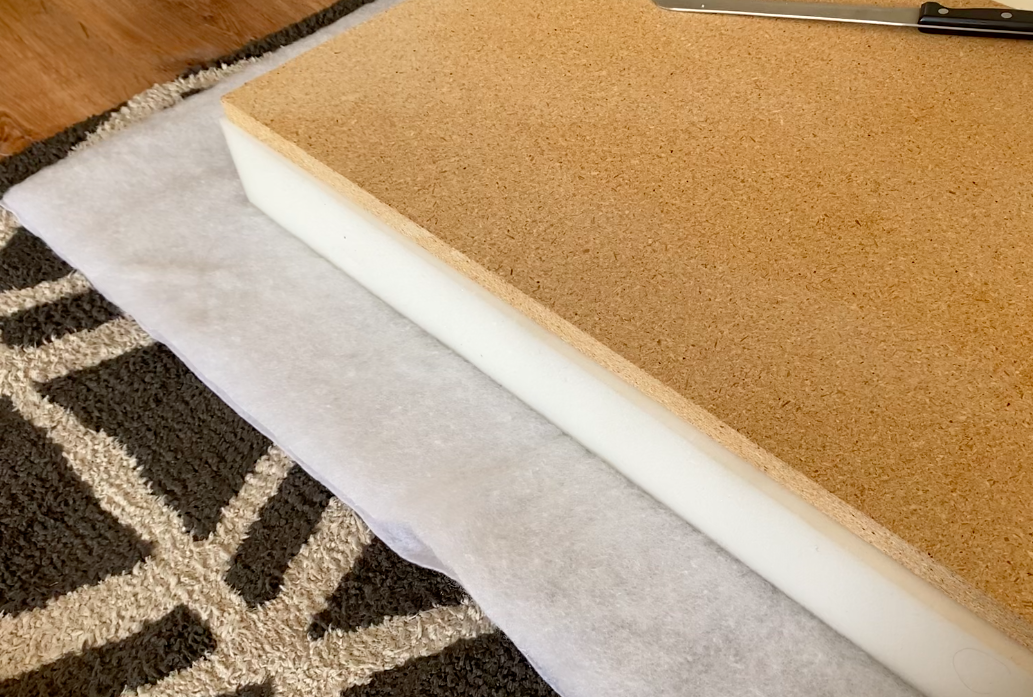
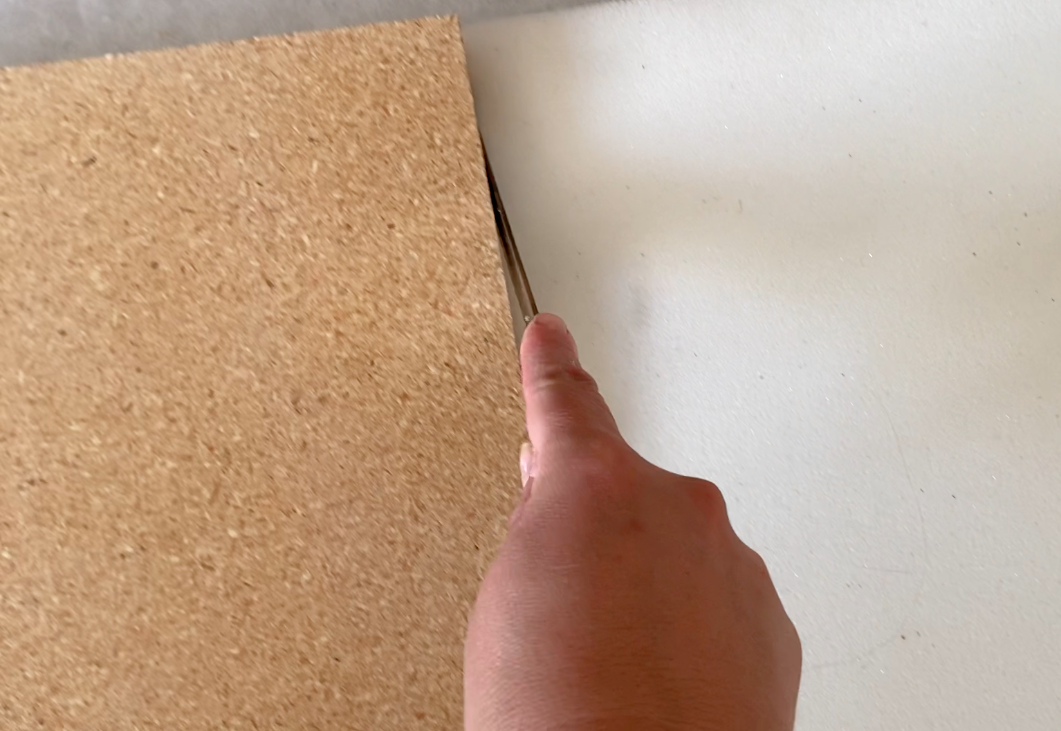
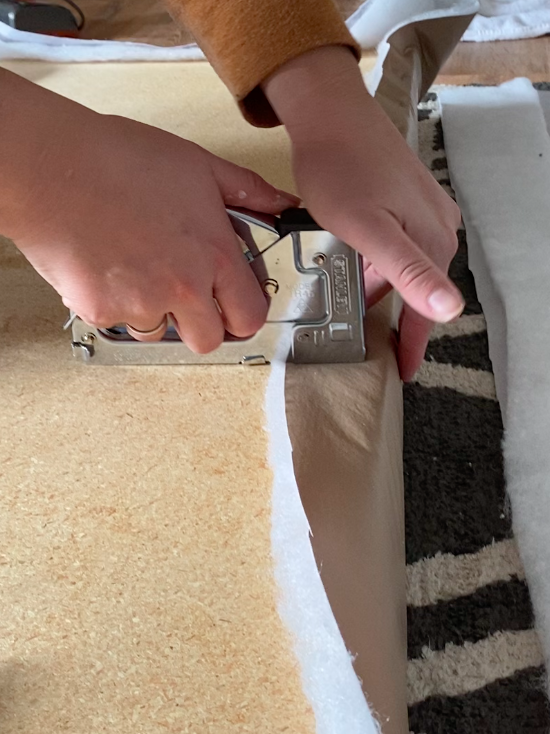
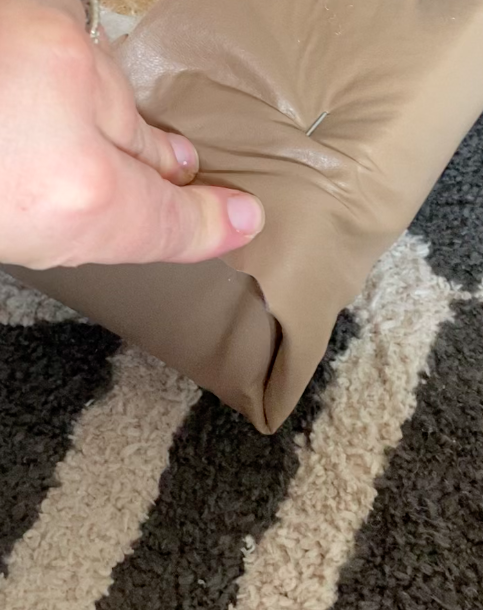
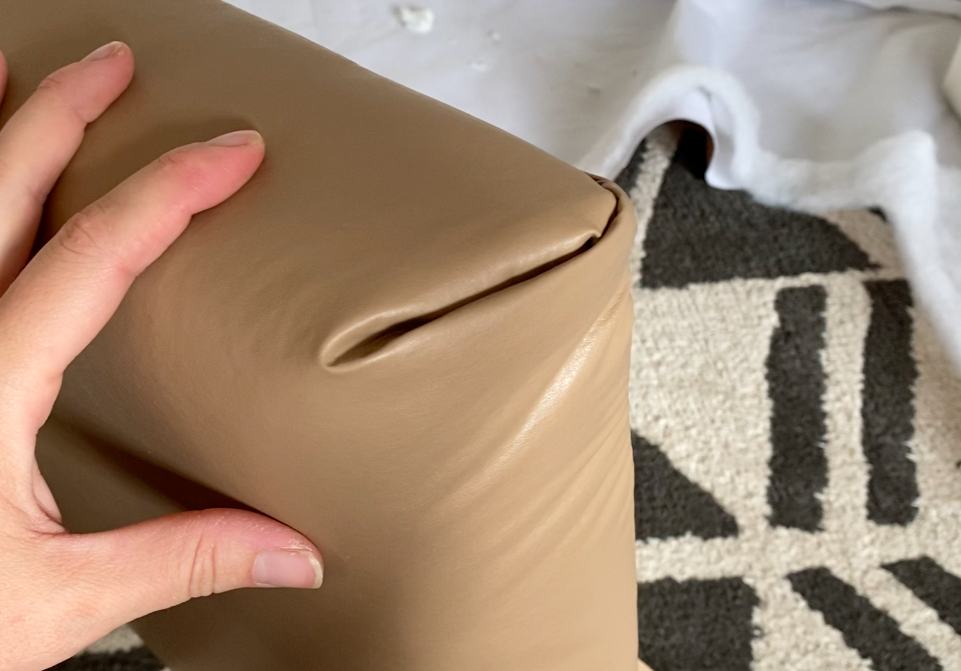
Step 8: The final step of this project is the top cushion. I used 3” foam, batting, and 3/4” particleboard. I would use plywood for this instead of particleboard in the future. I have seen other people use 1/2” plywood for the top of the bench and it seemed to work well. I had the particle board in my shop and I tried to utilize what I already had for this project. What I did was laid out my fabric right side down on a flat surface. Then I laid the batting on top of that. Then my foam and then my particleboard. Cut the fabric so it had about 5 inches of overhang around the border or enough to wrap underneath to staple. I used my staple gun working in the middle of each side first and then stapling the rest. Make sure to pull tight so there aren’t any wrinkles. I stapled the corner down and then wrapped one edge over the corner and stapled and then the opposite edge over and stapled into place. Then you can install your hinges and you have yourself a storage bench!
I love this because it gives me so much storage and can fit many people. This is the spot in my kitchen where people sit while I’m cooking. It is open and inviting and just says, “Hey come sit here. I am comfy”. I am SO happy that I chose vinyl for my fabric. It is very easy to clean and I know how stressed it would have made it with a beautiful fabric and knowing I would be spot cleaning constantly with my kids. Seriously, I wipe this bench down daily. I love that you can design the outside of this bench however you want to match your style. If you create this bench please share your ideas!


